- Home Page
- Playdough Activities
- Homemade Playdough Recipe
Homemade Playdough Recipe
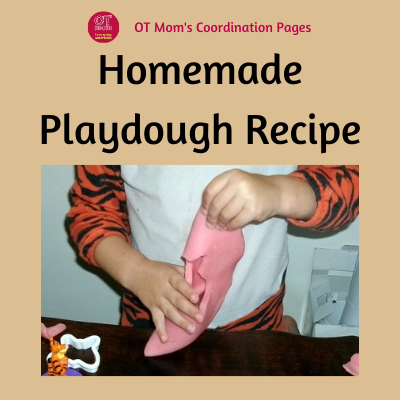
Try this step-by-step homemade playdough recipe to give your kids hours of inexpensive fun!
I use this recipe for all my occupational therapy playdough activities. This dough will last for months in a Ziploc bag, provided that your kids
have reasonably clean hands when they play with it, and that they don’t
lick the dough!
I sometimes link to products (#Ad) that are similar to those I use and love. If you do purchase something through my links, I will receive a small commission that helps support my site - thank you!
- Ingredients For Homemade Playdough
- Recipe Instructions and Photos
- Fun With Playdough!
- **Download the Recipe for Free!**
The dough takes about 15 minutes to cook, plus about half an hour to cool.
Ingredients:
- 2 cups all purpose flour
- 1 cup salt (table salt)
- 2 Tablespoons cooking oil
- 2 cups water
- 4 teaspoons cream of tartar
- a few drops of food coloring (go easy – if the color is too intense, like maroon, it will stain little fingers and clothes. Pastel colors should not cause any stains)
What you need:
- a large pot
- a wooden spoon
- wire whisk (optional)
- a clean, dry plate (preferably warm – zap it in the microwave for a minute just before the end – this helps prevent the dough from getting sticky from condensation)
Homemade Playdough Recipe Instructions:
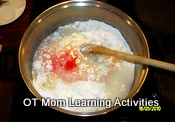
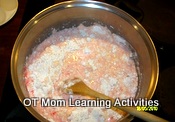
1) Add all ingredients to large pot.
Stir (or whisk) well to combine.
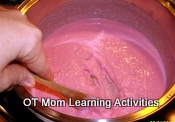
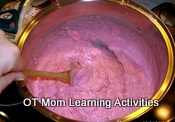
2) Slowly heat over medium heat, stirring all the time.
Stir, stir, stir, feel those arm muscles working!
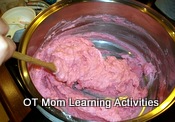
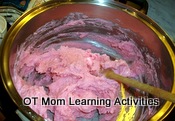
3) Stir, stir some more, feel the mixture stiffening.
Just keep moving the dough around so it heats through evenly.
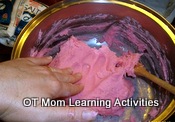
Try pressing your fingers into the dough to see if it is still sticky. Be careful not to burn your fingers!!
This is still a bit sticky, as can be seen from the big globs still sticking to the side of the pot.
(At this point, stick the dinner plate in the microwave for a minute to warm it up.)
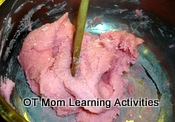
It is best to “overcook” the dough slightly, rather than under-cook it, so if your arms can bear it, keep it going even though it seems done.
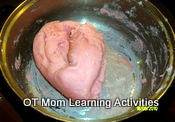
This is done – it makes a nice ball and leaves no stickiness when you press it.
(Be careful!, it is probably rather hot by this stage)
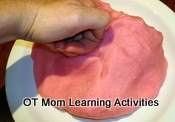
Turn the dough onto the clean, warm, dry plate, and knead it a little until smooth.
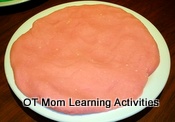
Flatten it out so it can cool more quickly, and give it a quick knead every few minutes to prevent a crust from forming.
Store the playdough in a plastic bag (Ziploc is good), and keep the bag inside an airtight container if possible.
Have Fun With Your Homemade Playdough!
Each of these pages on my site contains playdough activities used in different ways. Click on the images to view the free playdough activities on each page - have fun trying them out with your child!
Download The Recipe!
Fill in this form to access your free playdough recipe right away!
You will get the recipe in a single page PDF format - ready to be saved on your device or printed out.
You also have the option of signing up for my newsletter through this form!
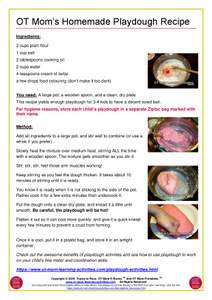 Free Recipe Download!
Thanks so much for visiting! I hope you feel inspired!
If you enjoy playing around with different recipes, you could also try these options from other Occupational Therapists! (These links open to their sites in a new window/tab.)
- Home Page
- Playdough Activities
- Homemade Playdough Recipe
Share this page to help others!
Didn't find what you were looking for? Try a search of my site!


